contact

TRICOT POUR DEBUTANTES
knitting for beginners
les liens sont en bas de page - links are at the bottom of the page
pour contacter l'auteur, merci d'utiliser les commentaires !
contact : please leave a comment in any of the posts !
Showing posts with label cables. Show all posts

Sunday

DESIGN YOUR OWN HAT (7)


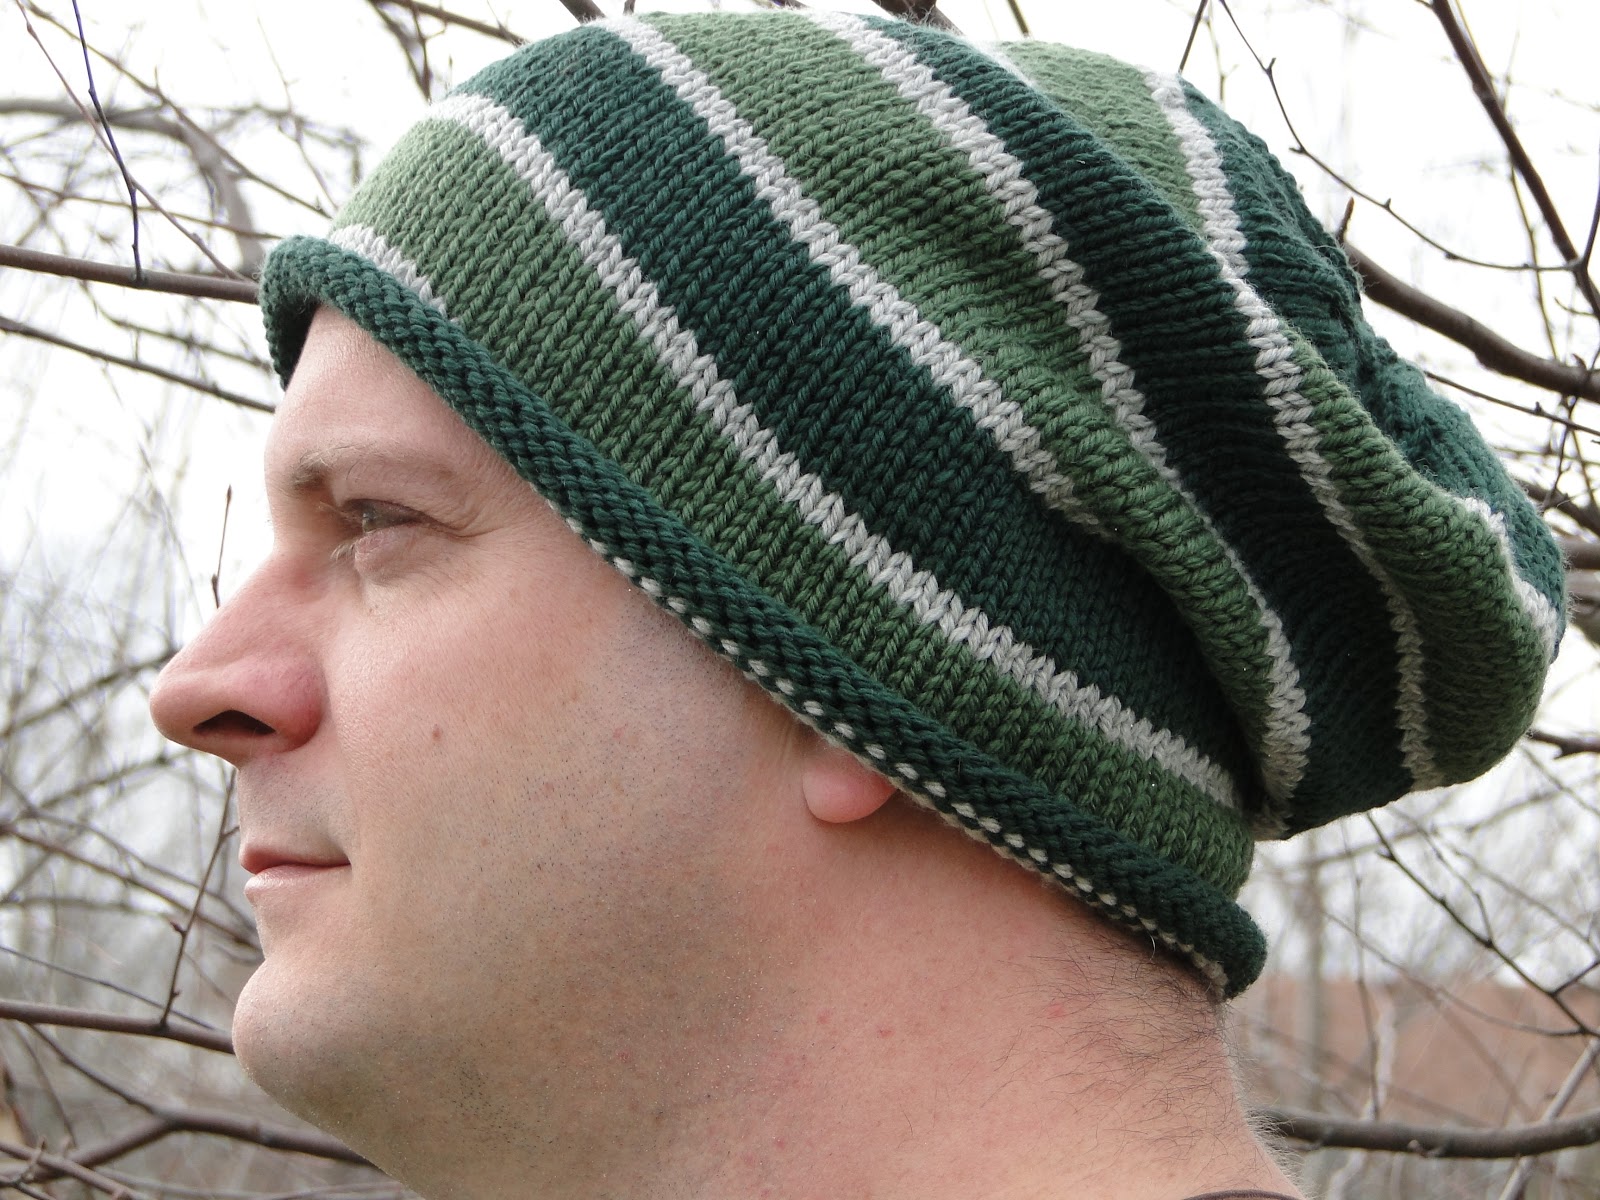
Here is what you will get using the first method ; as you see, you can start cables rather soon
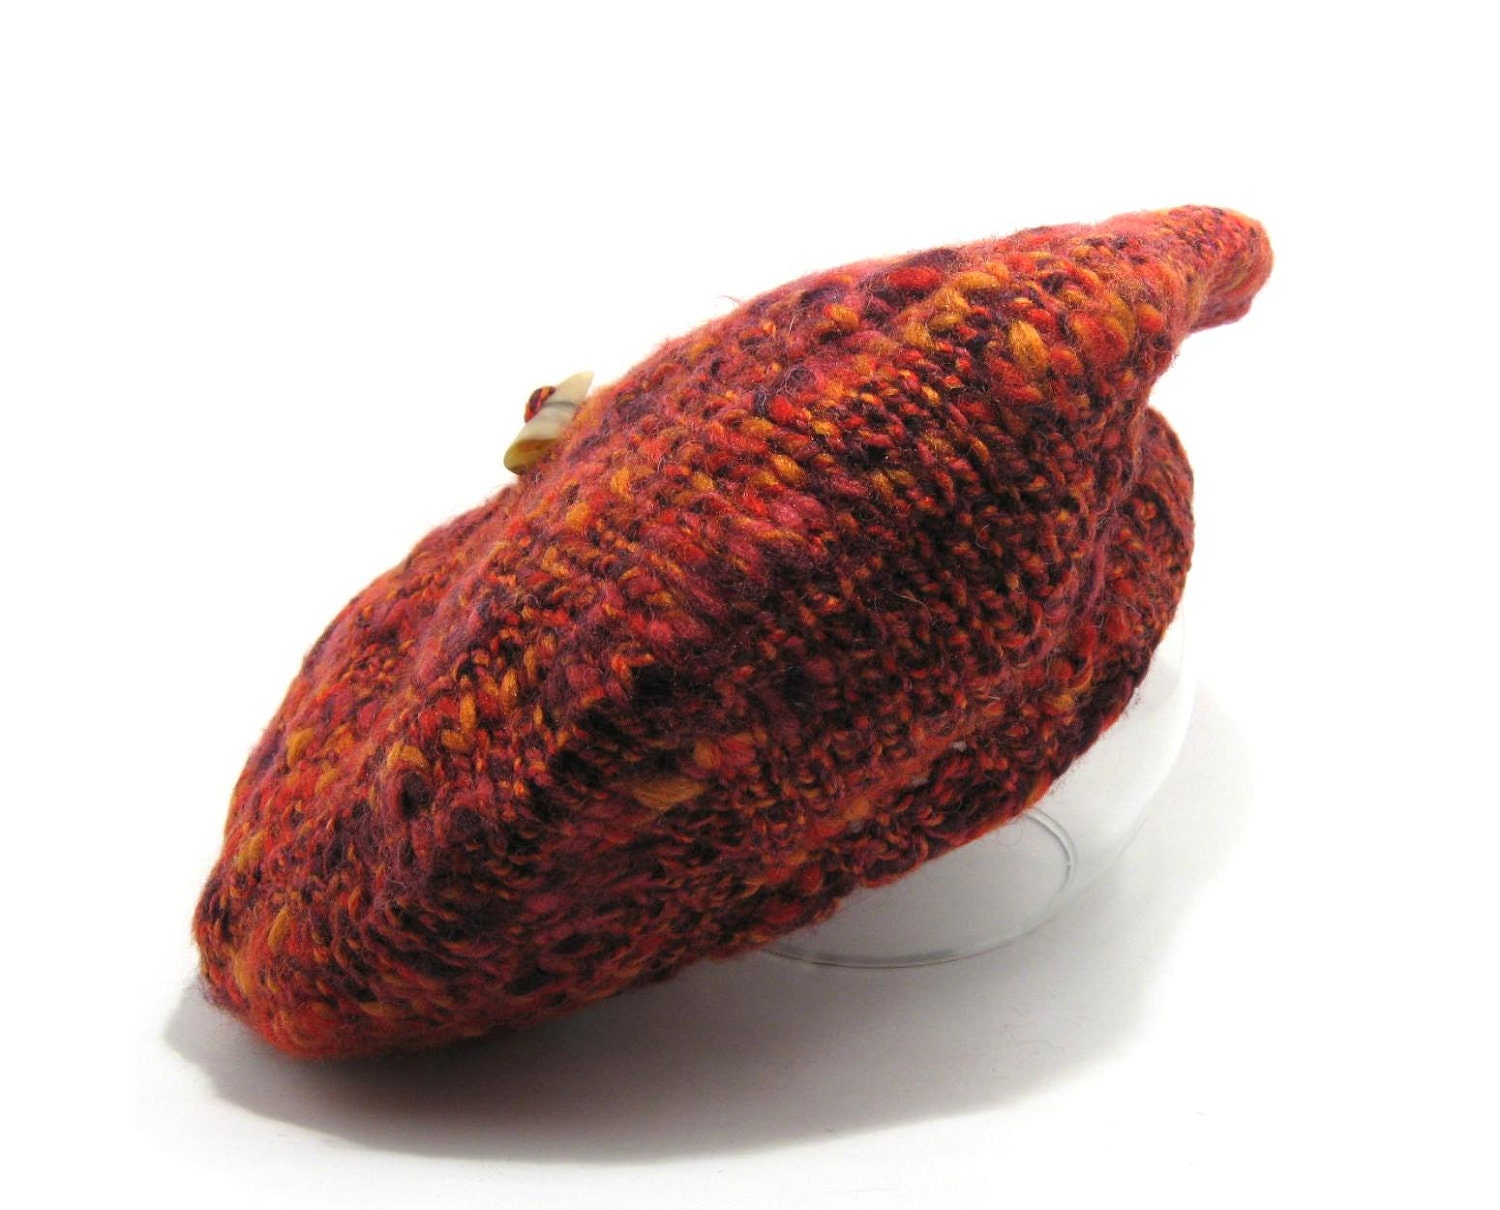
And if you use the second 

You increase until the diameter is the head circumference/2,75.
Then you knit as long as you want your hat to be and bind off !
-----------------------------------------------------------------------------------------------------------

Voici ce que vous obtiendrez si vous utilisez la première méthode (photos A) ; comme vous voyez, vous pourrez commencer les torsades assez vite. Et si vous utilisez la seconde (photo B)
Vous augmentez pour obtenir un diamètre équivalent à circonférence de la tête / 2,75
Puis vous tricotez la longueur souhaitée et rabattez


Wednesday

design your own hat (6)

Here are 3 ways to increase : the chart shows only one of the 8 - or 6 - sections
1 
CO 8 sts ( = cast on 8 stitches), join in the round
1.       <k1, inc, k1, inc> rep. from < to end
2.       k all stitches (16 st.)
3.       k all stitches (16 st.)
4.       k all stitches (16 st.)
5.       <pm, (k1,inc) twice> rep. from < 7 more times
6.       k all stitches (32 st.)
7.       k all stitches (32 st.)
8.       k all stitches (32 st.)
9.       <sm, k1, inc, k to next marker, yo>, rep. from < 7 more times = 48 st.
rep. rnds (=rounds) 6 to 9
16 inc every 4 rounds : 48, 62, 78, 94 …..
2

CO 8 sts ( = cast on 8 stitches), join in the round


1.       <pm, inc, k1>, rep. from < to end     -
2.       k all st.(16 st)
3.       <sm,k1,inc,k to next m., rep. from < 7 more times
rep. rds 2&3
8 inc. every other round
3
Cast on 8 stitches = 4 sections of 2 st. each

Round 1: k2
Round 2: kfb2
Round 3: k4
Round 4: k4
Round 5: k4
Round 6: kfb4
Round 7: k8
Round 8: k8
Round 9: k8
Round 10: k8
Round 11: k8
Round 12: kfb8
Round 13: k16
Round 14: k16
Round 15: k16
Round 16: k16
Round 17: k16
Round 18: k16
Round 19: k16
Round 20: k1, kfb, k1, kfb, k1, kfb, k1, kfb, k1, kfb, k1, kfb, k1, kfb, k1, kfb
Round 21: k24
Round 22: k24
Round 23: k24
Round 24: k24
Round 25: k24
Round 26: k3, kfb, k3, kfb, k3, kfb, k3, kfb, k3, kfb, k3, kfb
Round 27: k30
Round 28: k30
Round 29: k30
Round 30: k30
Round 31: k30
Round 32: k4, kfb, k4, kfb, k4, kfb, k4, kfb, k4, kfb, k4, kfb

_________  Vous avez déjà tous les éléments pour comprendre ! Un petit complément dans quelques jours ! _________________


Monday

design your own ... hat (3)

What about (=que diriez-vous de) cables (=torsades) ?
Or fair  isle knitting ?


Soon (= bientôt) how I designed this hat - je vous montrerai bientôt comment j'ai conçu ce bonnet :
fair isle, cables, ribs

Thursday

design your own ... hat (2)


here
What (= quoi) do you want (= vouloir )  ? Do you want a slouch :


here

or perhaps (= peut-être) a tam :


a slouch is longer (= plus long), 
a tam is wider (= plus large), then narrower (= plus étroit)
Do you want cables ?  ribs ?
for whom is it ? ( = pour qui) :
it is top down, you can decide later (= plus tard) !

Sunday

pattern

ATTENTION !
ce terme signifie :

  1. modèle, patron : par exemple download free pattern = téléchargez le modèle gratuit (comme ici)
  2. ensemble de points qui forment un motif : cable pattern, lace pattern = motifs de torsades, motifs de dentelle ... Je vous recommande, à ce propos, ce site où sont représentés les motifs proposés dans les livres de Barbara G Walker

Friday

twist

je ne sais pas comment on les appelle en français, ces "twisted stitches" - mais le résultat est intéressant !
comment faire ? En regardant cette vidéo, parlante, même si on ne comprend pas l'anglais.
Une question ? en commentaire, svp !

Thursday

cables, 3

l'excellente CAT BORDHI nous propose une excellente méthode :


Friday

cables, 2

Voici des explications que je recopie de : KNITTING FOR DUMMIES ("le tricot pour les nuls"); normalement, vous comprenez tout maintenant !

  • If you want to make a cable that looks like it's twisting to the left, you hold your suspended stitches in front of your work while you knit from the LH needle.
  • If you want to make a cable that twists to the right, hold the suspended stitches in back.

To try a 6-stitch left-twisting cable, cast on 14 stitches and then follow these steps:

1. Work Row 1 (RS): P4, k6, p4.
The first and last k4 (knit four) stitches make up the background fabric for your cable. The six stitches in the middle are where you'll form your cable stitches.
2. Work Row 2: K4, p6, k4.
3. Work Row 3: P4, k6, p4. (same as row 1).
4. Work Row 4: k4, p6, k4 (same as row 2).
5. Work Row 5, the turning row: P4, sl 3 sts to cn and hold in front (see Figure 1a), k3 from LH needle (see Figure 1b), k3 from cn (see Figure 1c), p4.

Fig 1: Working the turning row.
6. Work Row 6: K4, p6, k4 (same as Row 2).
-----------------------------------------------------------------------------------------------------------------------------------------
comme vous voyez, ces torsades se font sur 6 rangs, 5 rangs 'normaux' + 1 rang où on 'tord' les mailles ; pourquoi ne pas essayer 8 rangs (7+1) ou 10 (9+1) ????
aide mémoire : leFt >>> Front
je vous montrerai bientôt quels symboles sont utilisés dans les diagrammes pour figurer les torsades (ainsi que les augmentations et diminutions)


Sunday

cables, 1

en anglo-américain, cables, ce sont des ... torsades !
Et c'est beaucoup plus simple qu'il n'y paraît ; on peut à la rigueur se passer d'une aiguille spéciale, mais au début, il vaut mieux l'utiliser (cable needle) ... un cure dent suffit.
attention, on ne fait pas cela à chaque rang !
A suivre - regardez cette vidéo :